
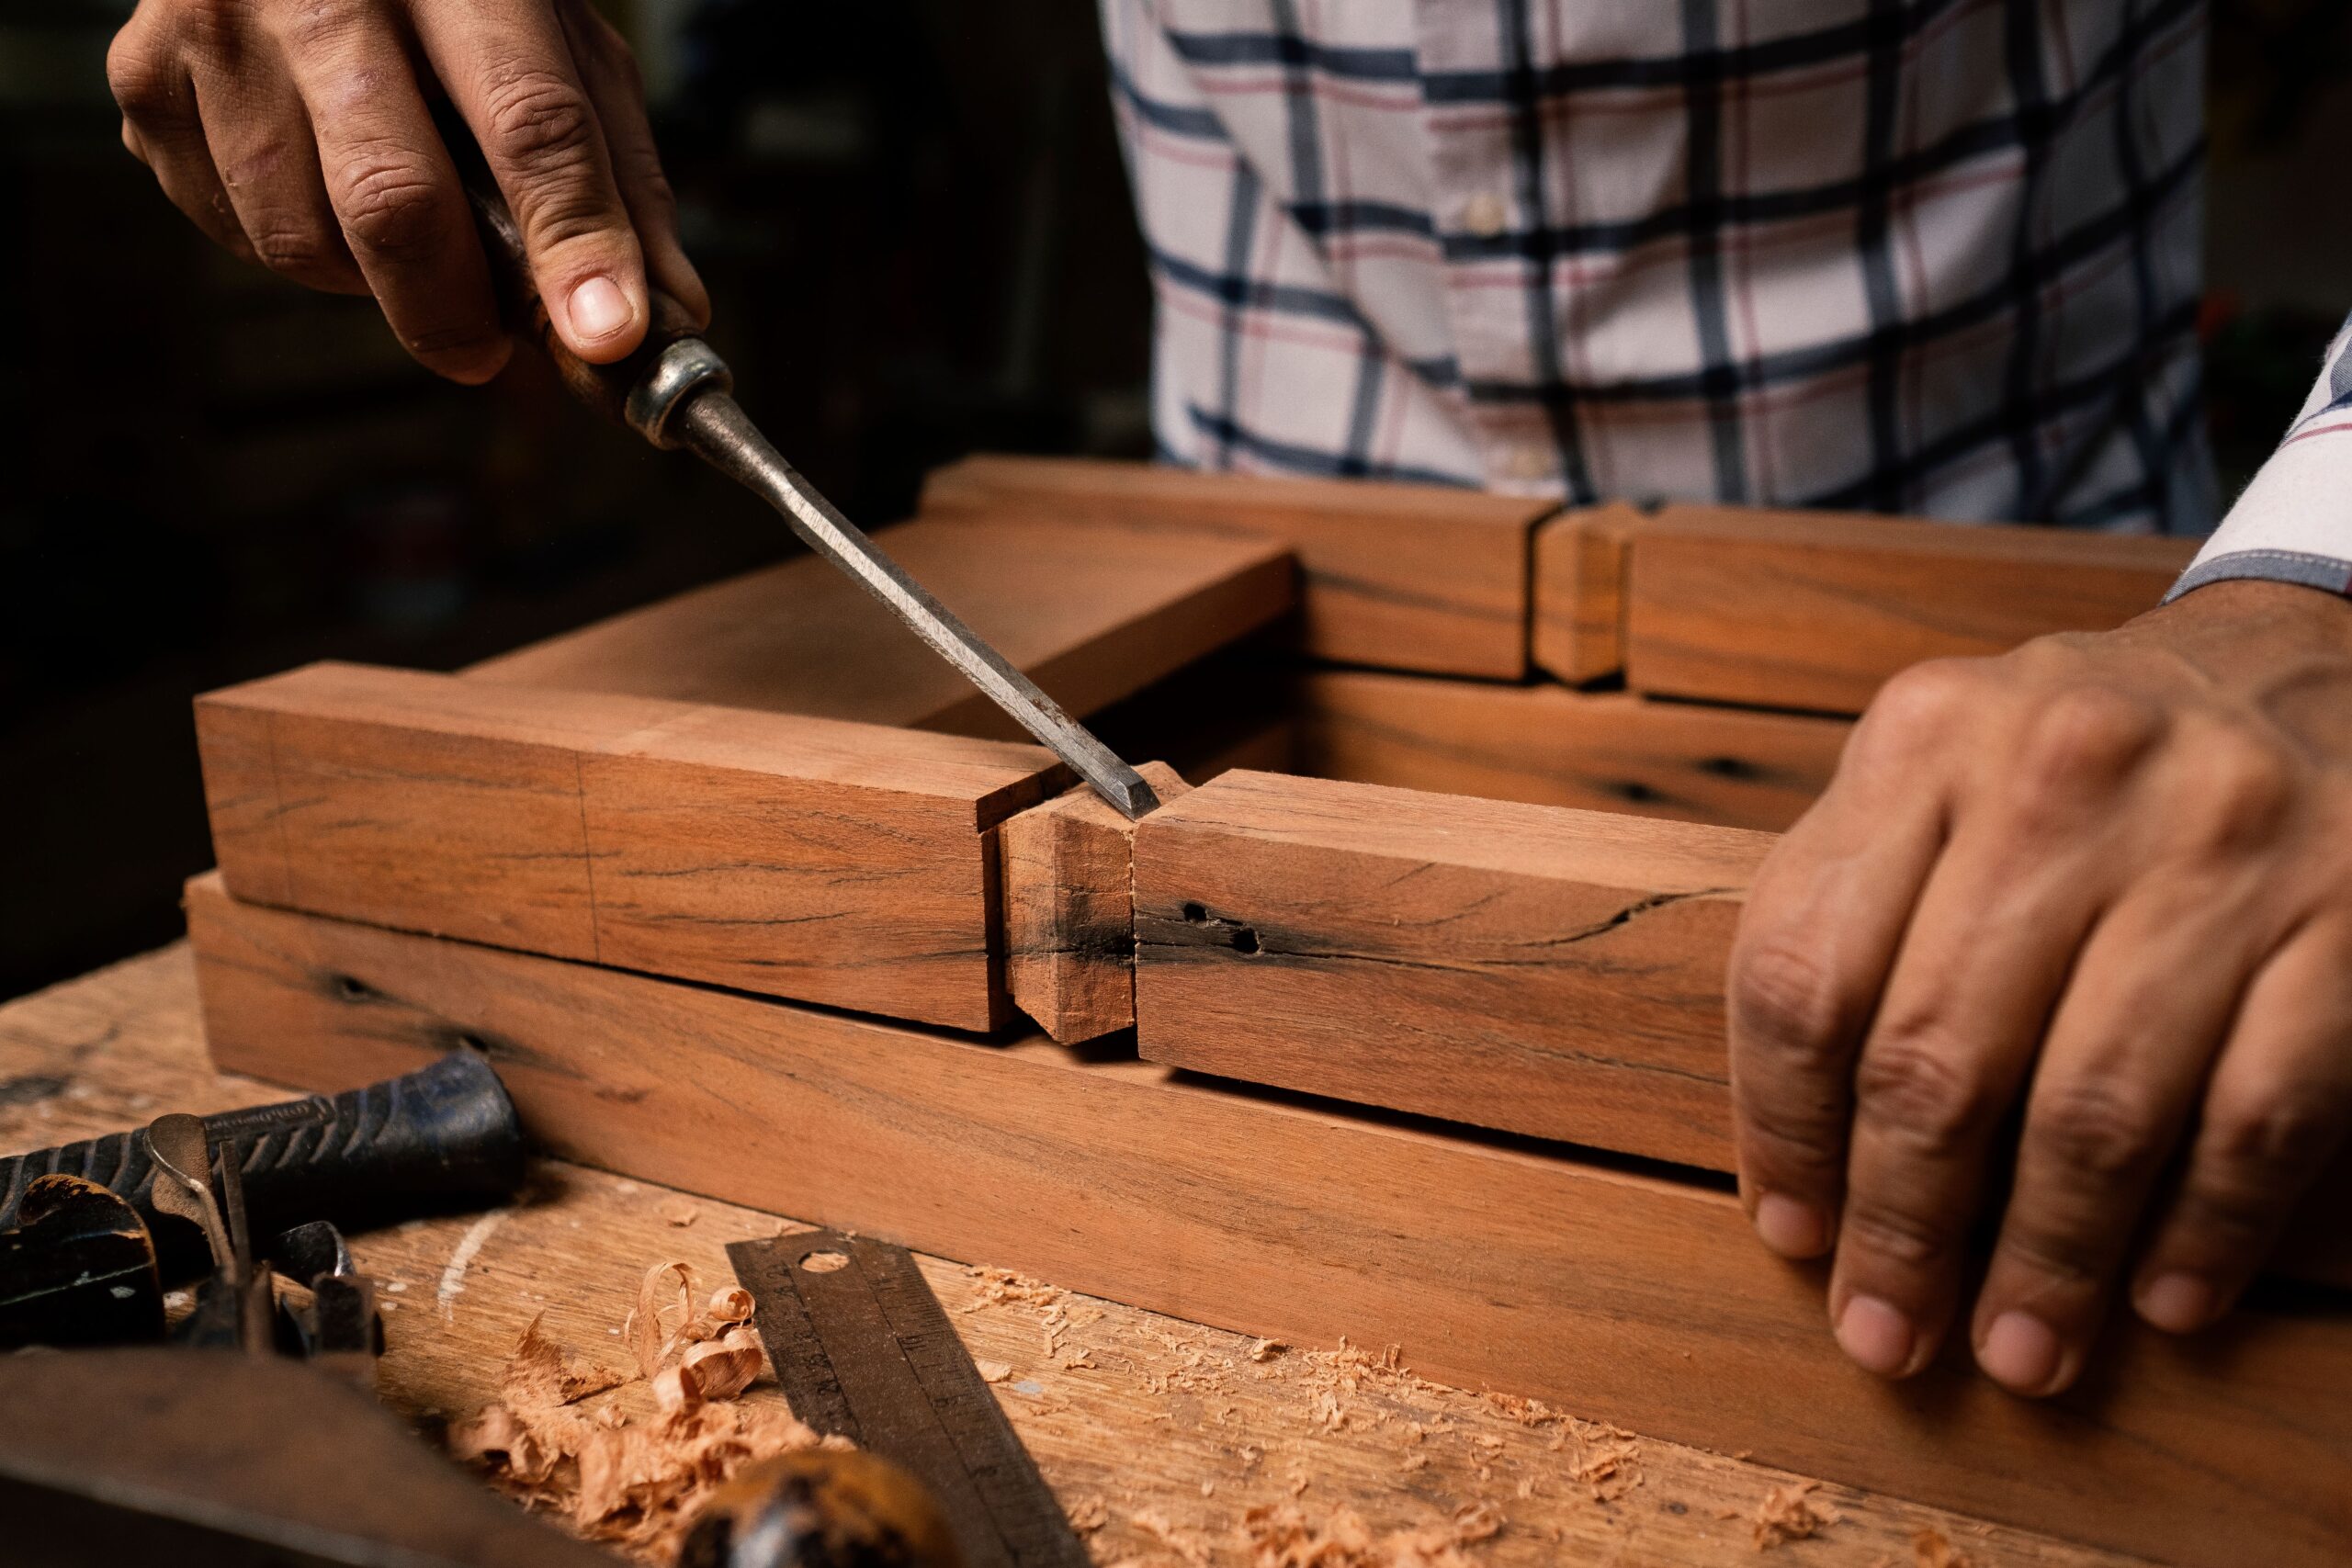
The Guide to Woodworking for beginners: From Blank Board to Beautiful Project



There is something deeply satisfying about taking a raw, rough piece of lumber and turning it into something both beautiful and functional. In a world dominated by digital screens and mass-produced, disposable furniture, woodworking offers a return to something real. It’s a chance to build heirloom-quality pieces with your own two hands.
But if you’ve ever walked into a lumberyard or scrolled through woodworking videos online, it’s easy to feel overwhelmed. The rows of specialized tools, the complex joinery, and the fear of making a costly mistake can make anyone hesitate.
Here’s the good news: You don’t need a massive workshop or thousands of dollars in industrial machinery to get started. With a handful of basic tools and the right approach, you can begin building impressive projects right away. This guide is your roadmap to starting your woodworking journey safely, affordably, and successfully.
Woodworking for Beginners: The Essential strategy
1. The “Essential Five” Starter Toolset
The biggest mistake beginners make is buying too many tools too fast. You do not need a 10-inch table saw or a high-end drill press for your first projects. Instead, focus on a minimal, high-utility toolkit that allows you to measure, cut, join, and finish.
- The Tape Measure and Combination Square: Accuracy is everything in woodworking. A 16-foot tape measure is perfect for most shop work, and a combination square ensures your crosscuts are exactly 90 degrees.
- The Circular Saw or Miter Saw: A reliable miter saw is a beginner’s best friend for making quick, accurate crosscuts across boards. Alternatively, a handheld circular saw paired with a straight-edge guide can handle both crosscuts and long rip cuts.
- The Cordless Drill and Driver: You will use this for pre-drilling holes (to prevent the wood from splitting) and driving screws to hold your projects together.
- A Set of Clamps: Ask any woodworker, and they will tell you: you can never have too many clamps. A few 6-inch and 12-inch bar clamps act as your “extra hands” during assembly and gluing.
- The Random Orbital Sander: Wood finishing requires patience, but a power sander makes quick work of smoothing out rough edges and removing surface imperfections before you apply stain or paint.
2. Choosing Your Lumber: The Beginner-Friendly Picks
When you step into a home improvement store, the sheer variety of wood can be dizzying. For your first few projects, bypass the expensive hardwoods like walnut, oak, and cherry. They are beautiful, but they are unforgiving and expensive if you make a miscut.
Instead, start with select pine or whitewood construction lumber. Pine is affordable, readily available, soft enough to cut and drive screws into easily, and looks great with a rustic finish or a coat of paint.
Pro Tip: Look for boards that are straight and flat. Lay the board flat on the floor or sight down its edge like an arrow to check for “cupping” (curving like a bowl), “bowing” (bending like a banana), or “twisting” (warping like a propeller).
3. Mastering the Three Golden Rules of Assembly
Once you have your wood cut to size, it’s time to put it together. As a beginner, you don’t need to worry about complex mortise-and-tenon joints. Stick to the basics, but execute them flawlessly by following these rules:


Rule 1: Always Pre-Drill Your Holes
Because wood has a natural grain structure, driving a screw directly into a board acts like a wedge, forcing the wood fibers apart and splitting your board. Always use a drill bit slightly smaller than your screw to drill a pilot hole first.
Rule 2: Wood Glue is a Structural Weld
Don’t rely solely on screws. High-quality wood glue (like Titebond) actually penetrates the wood fibers, creating a bond that is technically stronger than the wood itself. Apply a thin, even layer of glue to your joints before fastening them with screws or clamps.
Rule 3: Keep It Square
As you clamp your pieces together, use your combination square to check the internal corners. If a project dries out of square, drawers won’t slide, tables will wobble, and your hard work won’t look right.
4. Safety First: The Non-Negotiables
Woodworking is an incredibly rewarding hobby, but power tools and sharp blades demand respect. Before you ever flip a power switch, commit to these three safety habits:
- Protect Your Senses: Always wear wrap-around safety glasses. A stray wood chip can damage an eye in a millisecond. Pair this with hearing protection when using saws or sanders.
- No Loose Clothing or Jewelry: Long sleeves, necklaces, and loose hair can easily get caught in rotating tool shafts or blades. Roll up your sleeves and tie back your hair.
- The 3-Inch Rule: Keep your fingers at least three inches away from any moving blade at all times. If a cut requires your hands to get closer than that, use a push stick or a sacrificial piece of wood instead.
5. Your Best First Project: Keep It Simple
The secret to staying motivated is securing a quick win. Don’t try to build an intricate dining room table or a complex entertainment center for your very first project.
Instead, start with a classic wooden tote, a simple potting bench, or a basic outdoor bench. These projects use straightforward 90-degree cuts, simple screw-and-glue joinery, and offer plenty of room to practice your sanding and finishing techniques. Seeing a completed, functional piece sitting in your home will give you the confidence boost you need to tackle more complex designs down the road.
Ready to Make Your First Cut?
Woodworking isn’t an elite club reserved only for master craftsmen with decades of experience. Every single expert started exactly where you are standing right now: looking at a blank board, holding a tape measure, and wondering if they can really do it.
The answer is yes, you can. By focusing on a few essential tools, prioritizing safety, and embracing the learning process, you’ll unlock a lifelong skill that brings immense satisfaction. Get out there, buy a couple of boards of pine, and start building!