
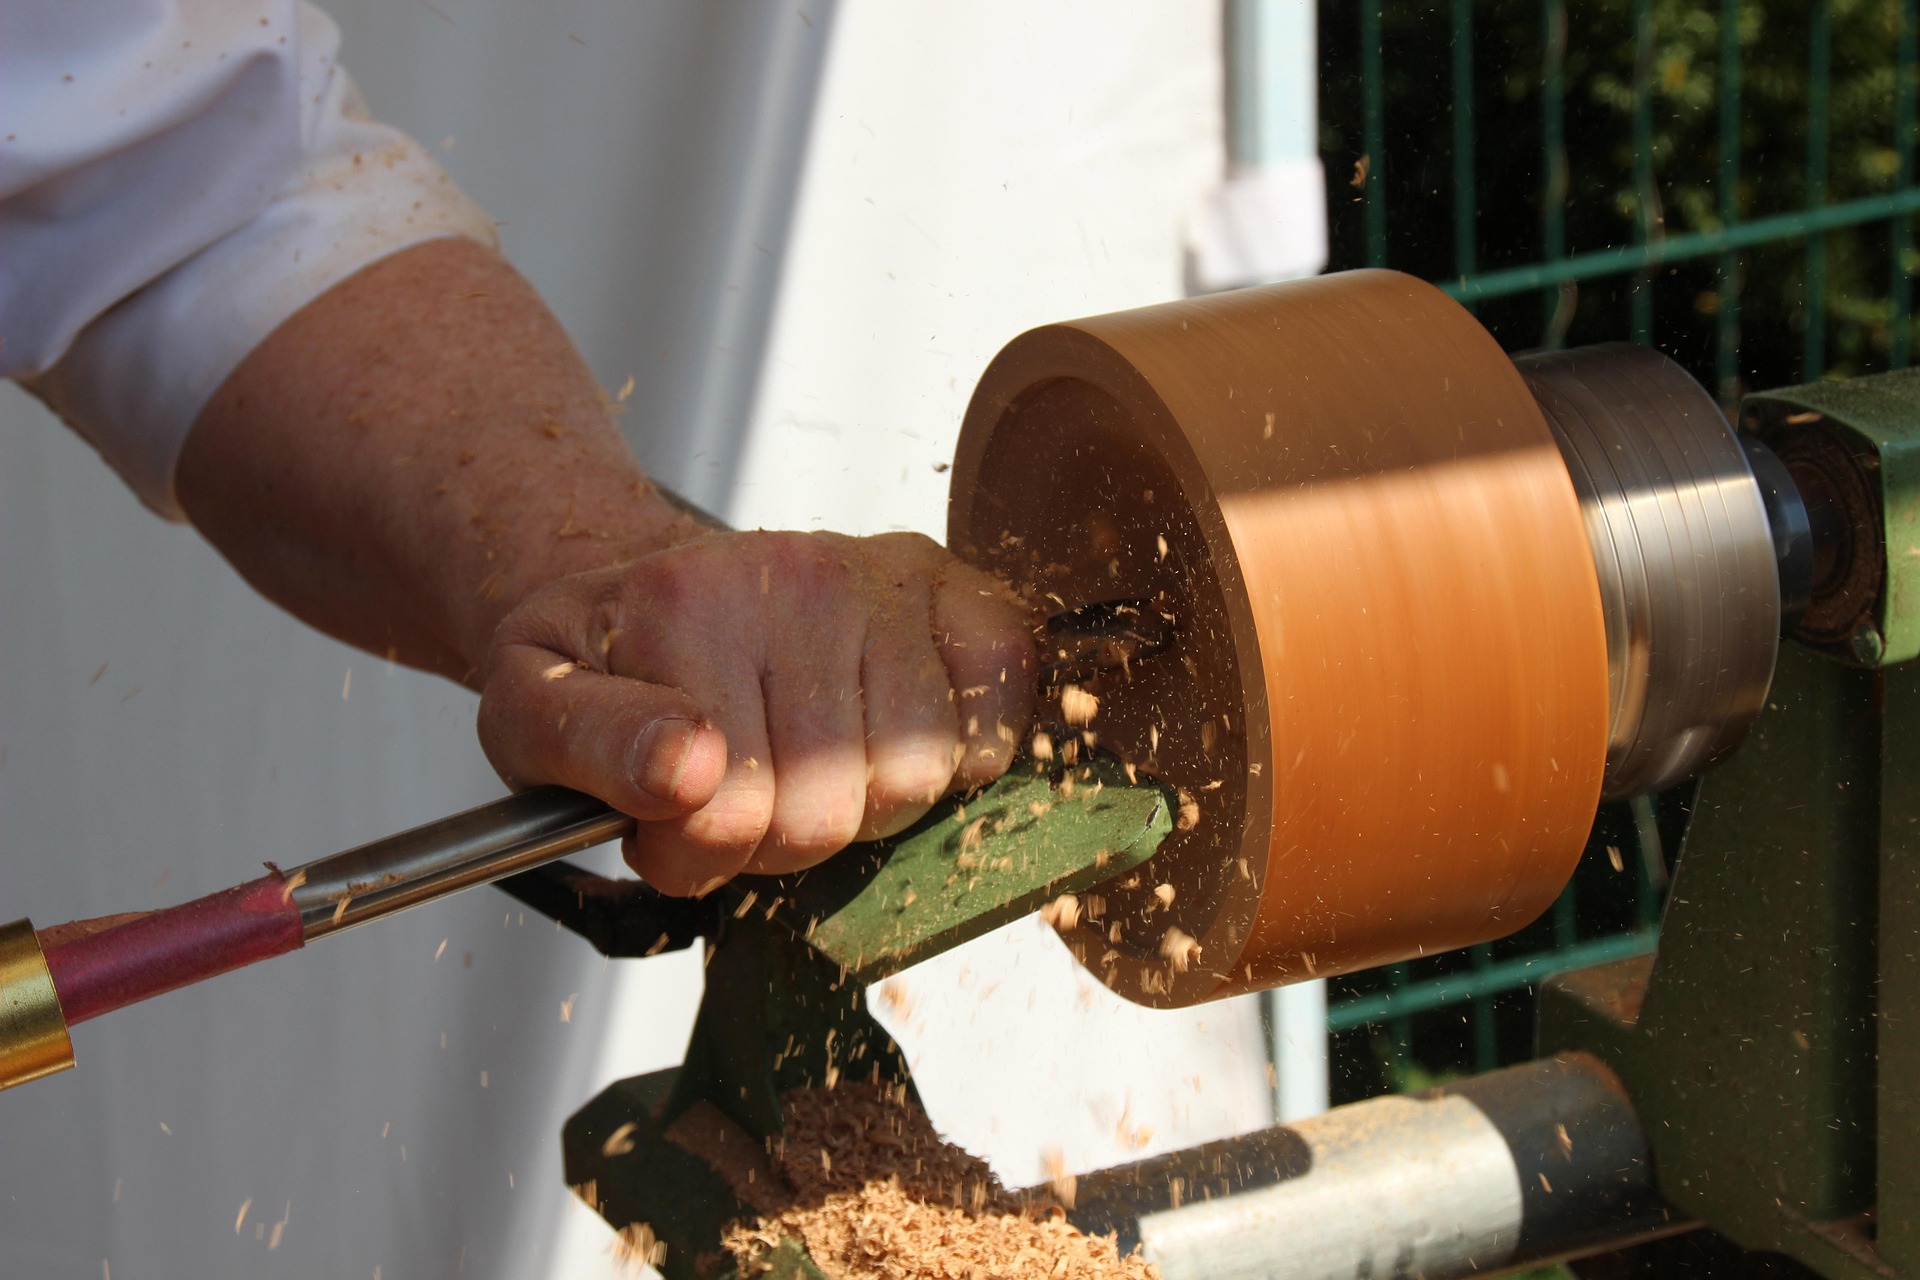
Woodworking Know-How: Which basics you need before you start



There is a common misconception that getting into woodworking requires a massive, dust-covered workshop filled with thousands of dollars of heavy machinery. It is easy to look at professional setups online and feel instantly intimidated.
The truth? Woodworking is not about the space you have or the tools you own; it is about understanding how to work with a living, breathing material to build something lasting. You can build incredible projects with a handful of basic hand tools on a sturdy kitchen table or a small balcony.
If you have ever wanted to turn a raw piece of lumber into something beautiful and functional, this guide will take you from a curious beginner to a confident maker.
1. Understanding Your Material: Wood Basics
Before you pick up a saw, you need to understand what you are cutting. Wood is not like plastic or metal—it was once alive, and it retains a structural “memory.”
Softwoods vs. Hardwoods
- Softwoods: These come from coniferous trees (like pine, fir, and cedar). They are inexpensive, readily available at any home center, and easy to cut. Pine is the ultimate beginner wood—it is cheap enough that mistakes do not hurt your wallet.
- Hardwoods: These come from deciduous trees (like oak, maple, walnut, and poplar). They are denser, more durable, and often feature gorgeous grain patterns. Poplar is an excellent, affordable gateway hardwood for beginners because it machines beautifully and takes paint incredibly well.
The Golden Rule: Wood Moves
Wood behaves like a rigid sponge. When the humidity rises, it absorbs moisture and expands; when the air dries out, it shrinks.
Crucial Concept: Wood expands and contracts almost entirely across its width (across the grain), not along its length. If you trap a wide piece of wood by gluing or screwing it tightly across the grain to a rigid frame, it will eventually split or warp itself apart. Every joint you make must account for this natural movement.
2. The Minimalist Toolkit
You do not need an expensive table saw or a compounding miter saw to get started. In fact, learning with hand tools first builds a deep muscle memory and an understanding of the wood that machine woodworkers often miss.
Here is the essential, budget-friendly toolkit to start your journey:
| Tool | What It’s Used For | Why You Need It |
| Tape Measure & Combination Square | Measuring and marking | Accuracy is everything. A combination square ensures your crosscuts are exactly 90 degrees. |
| Japanese Pull Saw (Ryoba) | Cutting wood to length/width | Unlike Western saws, Japanese saws cut on the pull stroke. This keeps the blade under tension, allowing it to be thinner, sharper, and much easier to control. |
| Chisels (1/2″ and 3/4″) | Chopping, paring, and joint-making | A sharp chisel is incredibly versatile. It acts like a handheld precision knife for wood. |
| Block Plane | Smoothing edges and flattening surfaces | It shaves off tissue-thin layers of wood to clean up rough edges and tune fits. |
| Cordless Drill/Driver | Boring holes and driving screws | The one power tool every beginner should invest in early for fast mechanical fastening. |
| Clamps (At least four 12″ F-style) | Holding wood securely | You cannot work safely or glue pieces together effectively without clamps. As the old adage goes: You can never have too many clamps. |
3. The 3 Pillars of Joinery
Joinery is the art of connecting two pieces of wood together. While there are hundreds of complex joints, you only need to master three basic methods to build 90% of beginner projects.
1. Butt Joints (With Screws or Nails)
The simplest joint possible: butt the end of one board against the face of another and fasten them.
- The Trap: Gluing the end-grain of wood is highly ineffective—it sucks up glue like a straw, creating a weak bond.
- The Fix: Always reinforce butt joints with mechanical fasteners (screws). Remember to drill a pilot hole first to prevent the screw from wedging the wood fibers apart and splitting the board.
2. The Pocket Hole Joint
A modern game-changer for beginners. Using a simple pocket hole jig, you drill a steeply angled hole into the face or edge of one board, allowing a specialized screw to pull it tightly into the adjoining piece. It creates an incredibly strong joint entirely hidden from view.


3. The Half-Lap Joint
Your first step into traditional joinery. You cut away half the thickness of both overlapping boards so that when they cross, they lay perfectly flush. It provides a massive amount of surface area for wood glue, resulting in a joint that is often stronger than the wood itself.
4. Setting Up Your First Workspace
You do not need a dedicated garage. If you have a corner of a basement, a spare room, or a patio, you have a shop. The two absolute requirements are stability and safety.
- The Work Surface: You cannot saw or chisel wood accurately if your table is rocking. If you don’t have a workbench, you can clamp a thick piece of plywood to a pair of sturdy sawhorses.
- Dust Management: Sawdust is a major health hazard. If you are working indoors, a standard household vacuum hooked up to your tools helps, but a tight-fitting N95 respirator mask is non-negotiable.
- Eye and Ear Protection: Safety glasses should go on the moment you step into your workspace. If you run a drill or sander, put on earplugs. Woodworking is a lifelong hobby, but only if you keep your senses intact.
5. The Perfect Beginner Project
The biggest mistake beginners make is tackling a massive project—like a hardwood dining table—right out of the gate. Unrealistic expectations lead to frustration, wasted money, and abandoned hobbies.
Instead, start with a project that teaches you the fundamentals in a single weekend. A simple tote box or a desktop organizer is ideal.
Building a basic box forces you to master:
- Measuring and squaring multiple identical parts.
- Making straight, clean crosscuts.
- Keeping corners perfectly square during glue-up.
Once you can build a perfectly square box, you have learned the core skills required to build bookshelves, workbenches, and cabinets.
6. The Art of Finishing
A beautiful build can be ruined by a rushed finish, while a mediocre build can be completely transformed by a great one. Finishing protects the wood from moisture and oils while highlighting the natural beauty of the grain.
For beginners, stay away from complex spray lacquers or finicky high-gloss polyurethanes. Instead, use foolproof wipe-on finishes:
- Danish Oil / Linseed Oil: You simply wipe it on with a rag, let it soak into the wood fibers for 15 minutes, and wipe off the excess. It leaves a natural, matte, close-to-the-wood feel that is incredibly forgiving to apply.
- Wipe-On Polyurethane: If your project needs heavy protection (like a coffee table or a coaster), wipe-on poly adds a thin, protective plastic barrier. Applying 3 to 4 thin coats with a lint-free cloth yields a beautiful, brush-stroke-free surface.
Your First Action Step
Stop browsing tool catalogs and watching hours of hyper-edited workshop videos. The best way to learn woodworking is by making sawdust.
Go to your local home center this weekend. Pick up a single, straight 8-foot-long 1×4 pine board, a hand saw, a small bottle of wood glue, and some sandpaper. Bring them home, cut that board into pieces, and try to glue them back together into a square box.
Embrace the mistakes. Every missed cut and warped board is just a lesson in disguise. Happy building!